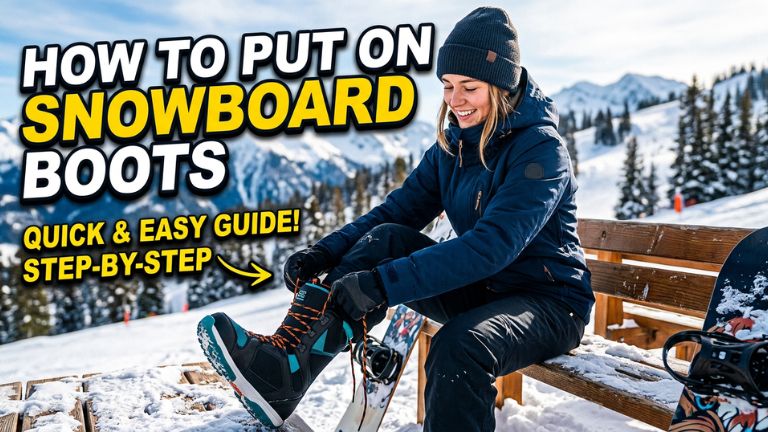
Getting your boots on correctly sets the foundation for everything else that happens on the mountain that day. Rushing this step or skipping key parts of the process often leads to heel lift, pressure points, or discomfort that only becomes obvious once you are already several runs in. Learning how to put on snowboard boots properly, step by step, helps you avoid these problems from the very start of your day.
This guide walks through the full process from opening the boot to final tightening, along with specific guidance for lacing, BOA systems, and common mistakes worth avoiding.
How to Put on Snowboard Boots
Following a consistent, deliberate process each time you gear up helps ensure a secure, comfortable fit rather than rushing and dealing with problems later.
Step 1: Open the Boot Completely
Before attempting to put your foot in, loosen the lacing or BOA system fully, whether that means releasing BOA dials, unclipping speed lace mechanisms, or loosening traditional laces all the way down toward the toe. A boot that is still partially tightened makes it much harder to get your foot in cleanly and increases the risk of the liner bunching up awkwardly inside.
Step 2: Slide Foot In Cleanly
With the boot fully opened, slide your foot in smoothly, using the tongue and opening of the boot to guide your foot rather than forcing it in at an awkward angle. Wearing the same socks you plan to actually ride in during this step matters, since a different sock thickness can throw off how everything settles once fully tightened.
Step 3: The Heel Kick
Once your foot is inside, firmly kick or tap your heel down against the floor a few times while the boot remains loose. This motion helps settle your heel fully into the back of the boot and liner, ensuring proper positioning before you begin tightening, rather than tightening around a heel that has not yet settled into its correct position.
Step 4: Securing the Inner Liner
If your boots have a separate inner liner harness or lacing system, secure this layer next, working from the bottom of the foot upward. This inner layer often plays a significant role in overall heel hold and should be snug before you move on to the outer shell, since the outer shell alone cannot fully compensate for a loose inner liner.
Step 5: Tightening the Outer Shell
Finally, tighten the outer boot shell, whether through BOA dials, speed lace cords, or traditional laces, working from the bottom of the boot upward toward the cuff. This bottom to top approach helps ensure even, consistent tension throughout the boot rather than an uneven fit that feels tight in one area and loose in another.
How to Lace Snowboard Boots
For traditional lace boots, start by ensuring the laces are loosened all the way down near the toe before you put the boot on, following the general process above. Once your foot is properly seated with the heel kick technique, begin lacing from the bottom, pulling each set of laces snug before moving up to the next set rather than lacing loosely throughout and trying to tighten everything at the very top only.
Continue this bottom to top pattern through the ankle and up to the cuff area, checking periodically that tension feels even and secure without any specific area feeling notably looser than the rest. Finish by tying off the laces securely at the top, using a double knot or the boot’s specific locking mechanism if one is included, to prevent the laces from loosening gradually throughout the day.
How to Tighten BOA Snowboard Boots
BOA systems simplify tightening considerably compared to traditional laces. With your foot properly seated using the heel kick technique, turn the BOA dial clockwise to begin tightening, working through each zone in order if your boots have multiple dials, typically starting with the lower boot zone before moving to the upper cuff area.
Turn the dial in small increments, checking fit periodically rather than cranking it fully tight in one continuous motion, since overshooting the ideal tension is a common mistake with BOA systems given how quickly and easily they tighten compared to manually threading traditional laces. Once you reach a snug, secure feeling without pain or numbness, you are done, and adjustments throughout the day can be made just as easily by turning the dial slightly in either direction as needed.
Proper Way to Tie Snowboard Boots
For boots using traditional laces, tying off properly at the end matters for keeping that careful bottom to top tightening secure throughout the day. A standard double knot works for most riders, though some boots include a specific lace lock or clip mechanism designed to hold tension more securely than a simple knot alone, particularly useful for riders who tend to have laces loosen throughout a day of active movement.
Tucking excess lace length into the top of the boot or a dedicated lace pocket, if your boots include one, helps prevent loose laces from catching on bindings or becoming a tripping hazard while walking around before or after riding.
Common Mistakes That Cause Foot Pain and Heel Lift
A handful of recurring mistakes during the boot putting on process lead directly to discomfort or reduced performance later in the day. Skipping the heel kick step is one of the most common culprits behind heel lift, since a heel that has not properly settled into position before tightening often remains slightly displaced even after the boot is fully secured.
Tightening the outer shell before properly securing an inner liner harness, if your boots include one, can also leave the liner loose underneath an otherwise snug feeling outer boot, creating a false sense of security about overall fit. Rushing the lacing or BOA tightening process from the top down, rather than working bottom to top, often results in uneven tension, leaving certain areas too tight while others remain insufficiently secure.
Finally, wearing different socks than you tested your fit with, whether thicker or thinner than intended, can throw off the careful fit you dialed in previously, leading to unexpected tightness or looseness that has nothing to do with the boot itself and everything to do with an inconsistent sock choice between sessions.
Putting on Cold Boots After Storage
Boots that have been sitting in a cold car, garage, or unheated storage area can feel noticeably stiffer and harder to put on compared to boots kept at room temperature. If possible, bring boots inside to warm up for a bit before your session, since cold, stiff liner material makes the entire putting on process more difficult and can make it harder to achieve the same quality fit compared to boots at a more moderate temperature.
If warming them up beforehand is not an option, take extra care during the heel kick and initial seating process, since cold, stiff materials may require a bit more deliberate effort to settle properly compared to boots that have had time to soften slightly at room temperature.
Final Thoughts
Understanding how to put on snowboard boots properly comes down to following a consistent process: fully opening the boot, sliding your foot in cleanly, using the heel kick technique to settle your heel, and tightening from the bottom up, securing any inner liner before the outer shell. Whether your boots use traditional laces or a BOA system, this same general sequence helps ensure a secure, even fit rather than the heel lift and pressure points that come from rushing or skipping steps.
Taking these extra few moments each time you gear up pays off throughout your entire day of riding, helping you avoid discomfort and maintain the control and responsiveness a properly fitted boot provides.